How to map a design on a 3D sphere in Adobe Illustrator
Applying your design to a 3D shape can enhance its visual interest and add depth to the overall look. This technique is especially effective for adding an extra dimension to logos.
Start by designing the artwork you want to place on the sphere.
Select the design, go to Symbols.
Drag the design into the Symbols panel to make a new symbol.
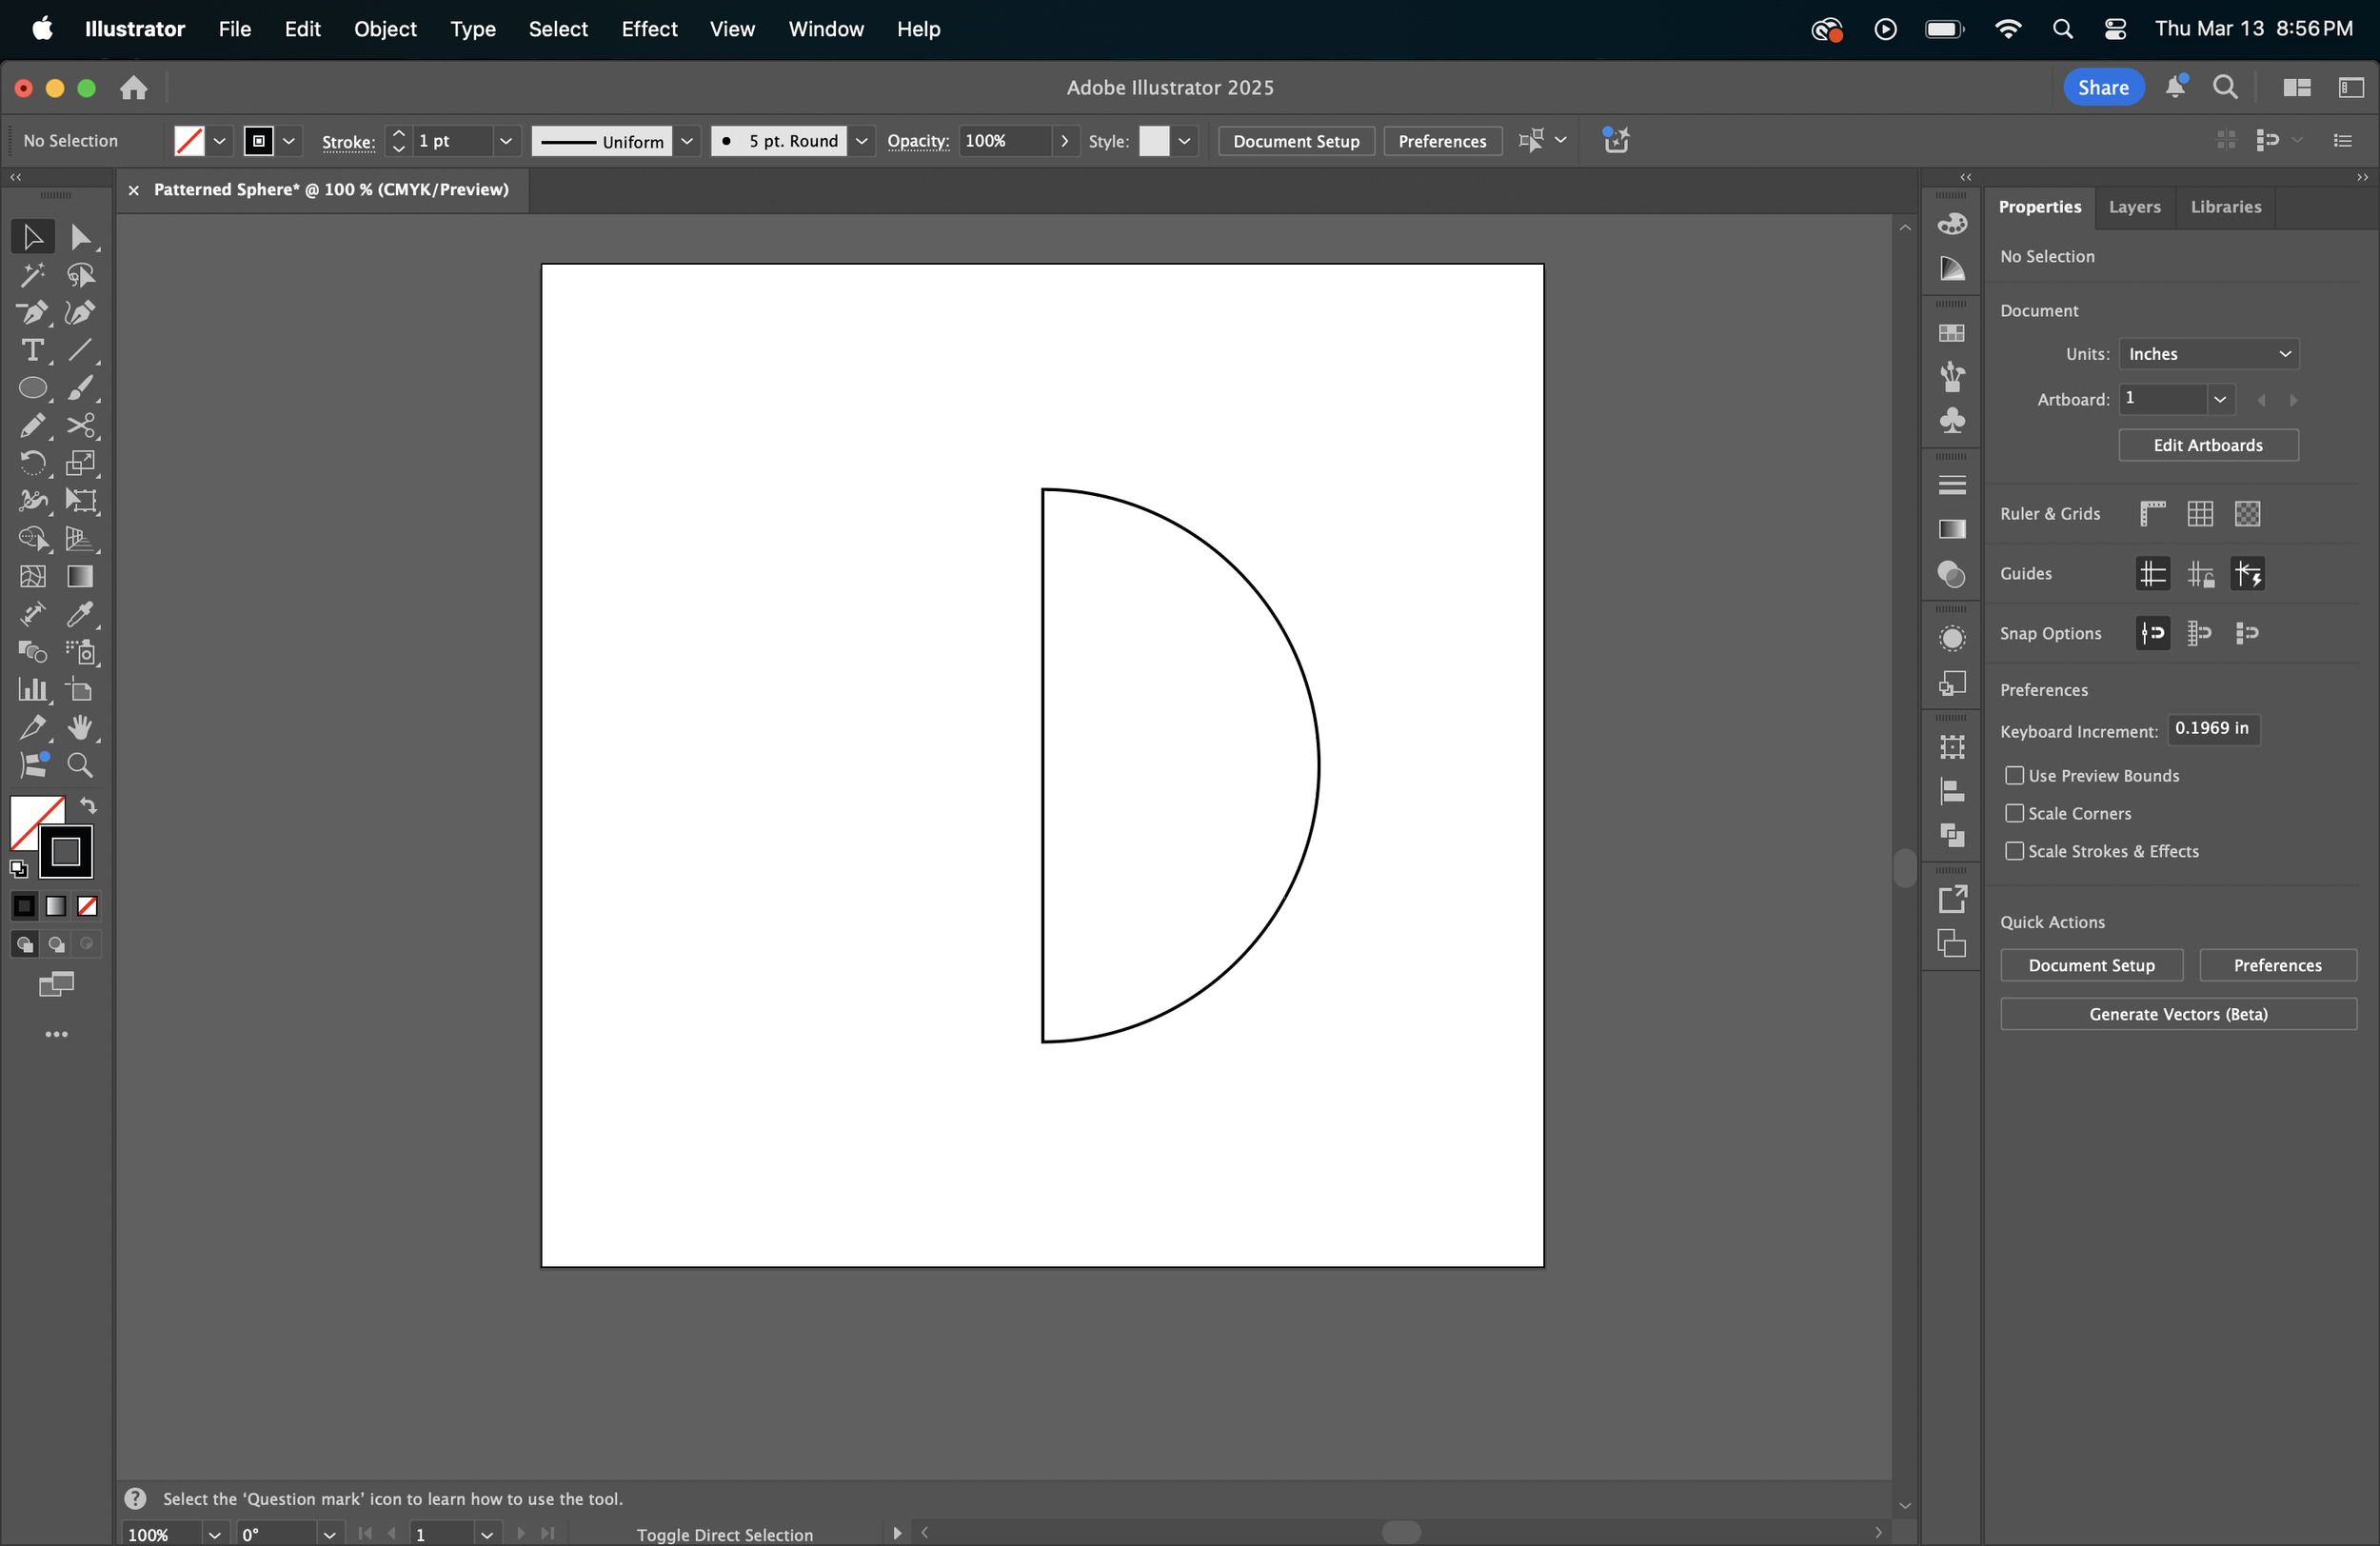
In a new layer, make a half circle.
Select the half-circle, then navigate to Effect > 3D and Materials > 3D (Classic) > Revolve (Classic). This will create a 3D sphere.
Once the sphere is created, go to Map Art.
Adjust the surface setting to “Surface 2” (or another surface, depending on where you want the design placed). The surface you choose determines the design’s position on the sphere.
In the Symbol dropdown, choose the symbol you want to map onto the sphere.
You can move the symbol anywhere on the surface. If you have Preview selected, you’ll be able to see how the design looks as you adjust it.
You can expand, minimize, or transform the symbol as needed.
Once you're happy with the placement, check Invisible Geometry to make the sphere invisible, leaving only your mapped design visible.
Click OK to complete the process.
Have fun designing!


